

Difficulty:

Cost:
$0-20
depending on what you have in your fabric stash
How cool is this backpack?!
This is another Ali creation in my attempts to use up my massive stash of denim pant legs, left over from many, many pairs of shorts. Denim is a great, tough material and I thought, what better to make from lovely strong fabric, but a backpack!
This bag really doesn't take as much fabric as you might expect; I was able to make it entirely from pieces out of my scrap basket.
It took one pair of jeans (after you've taken away the top for a pair of shorts) worth of denim, but I used two different coloured pant legs, one slightly darker than the other.
Then I used a brown pleather fabric for the base and handle as I wanted it to be nice and strong, however more denim would work perfectly well if you can't afford pleather.
You only need a tiny amount of floral contrast, so it's a perfect way to use up something from your scrap basket.
For the lining I just used some calico I had left over from another project.
Big long zippers can be expensive, and I was lucky to find both of these zips in my mum's stash. However if you aren't lucky enough to have such a stash at your disposal, find an old jacket in your local op shop which has a zip the length and colour you need. This is a much cheaper way of buying a zip, and you are more likely to find a cool vintage looking zip like the ones I used!

Materials:
1x pair of jeans
2x zips
floral fabric
lining fabric
pleather (optional)
Tools:
Sewing machine
Overlocker (optional)
Scissors
Pattern pieces:

For outer bag:
1x back (13.5'' x 15'', rounded top)
1x front (13.5'' x 11.5'', rounded top)
1x front contrast (13.5 x 3.5'')
1x base (13.5 x 3.5)
1x top (21'' x 3.5'')
1x handle (9'' x 2'')
2x straps (26'' x 3.5'')
6x side (3.5'' x 3.5'')


For lining:
1x front (13.5'' x 15'', rounded top)
1x back (13.5'' x 15'', rounded top)
2x side (10'' x 3.5'')
1x base (13.5'' x 3.5'')
1x top (21'' s 3.5'')


For pocket:
1x top (picture says 9'', but make it 11''x5'')
1x front (8'' x 4'')
1x base (8'' x 1'')
2x side (1'' x 4'')
2x lining front (8'' x 4'')
2x lining side (1'' x 4'')
1x lining base (1'' x 8'')

Method:
Start by pinning and sewing the contrast front piece to the front, right sides together

Next sew the three side pieces together, right sides together, in an appropriate order

Then make the bag lining
Start by sewing the side lining pieces to the back, lining pieces up at the bottom

Then attach the base piece to the bottom of the front piece

Then sew the base and side pieces together to make corners, as shown below

Attach an end of the top piece to the top of each side piece, making sure the fabric isn't twisted

Pin the top piece along the curved edge of the back piece, distributing fabric evenly

Then start on the pocket.
Start by sewing the side pieces to each side of the front piece

Then attach the base piece to the bottom of the front piece

It should look like this:

Next sew the corners, matching seams so the corner is nice and even


Then you have the bottom of the pocket

Next sew a big 1.5'' wide hem on the top piece

Then cut two rectangles from scrap denim to make ends for the zipper

Fold these pieces in half and pin one onto each end of the zip

Sew a line from one edge of the zip to to other, as shown below

Next pin the zip to the pocket bottom, right sides together

It should look like this:

Now for the pocket lining.
Sew the side pieces to the front lining piece

Then sew the base piece along the bottom

Then sew the corners, matching seams

Lastly pin the second front piece to the attached side and base pieces, right sides together as shown below


The you have a lining for the pocket


Place this inside your pocket front and trim the lining to fit so it doesn't overlap the zip

Turn the pocket inside out
Fold the edges of the lining over and pin onto the zip as shown below.
When you have done this topstitch it


Next pin the top pocket piece to the top of the rest of the pocket, where the denim zip ends are and sew


And there you have a pocket!

Now attach the pocket to the front bag piece by pinning the base of the pocket to the middle of the bag, as far up as you would like it. I pinned mine in line with the contrast fabric piece

Next fold in the pocket seams tidily and topstitich the pocket on

A pretty pocket, yay!

Next pin and sew the base piece to the back piece

Then attach the side pieces to the sides of the back piece so that they end where the base piece begins

Then attach the top piece to the top of the side pieces, right sides together

Then sew the top piece along the curved top of the back piece, distributing fabric evenly

Then sew the base corners, attaching the bottom of the side pieces to the sides of the base piece

Next make the handle
Fold the handle piece in half lengthways and pin, then topstitch close to the raw edges

Next find the centre of the top of the back piece and figure out where you want to put the handle

Unpick the section that the handle will go into and push the handle through the hole. Make sure it is folded the right way and not twisted, then sew the seam back up, over the handle piece

Next make the straps
Start by ironing a small hem onto one side of each handle piece

Then sew a larger hem onto the other side that ends in the centre of the piece

Then iron the small hem onto the large one
Sew through the centre, and then take large zig zags back up the straps to create a quilted effect

Attach the straps onto either side of the handle, unpicking and re-sewing the seam as before

Do the same at the bottom of the back piece, attaching the straps to each corner, making sure they aren't twisted

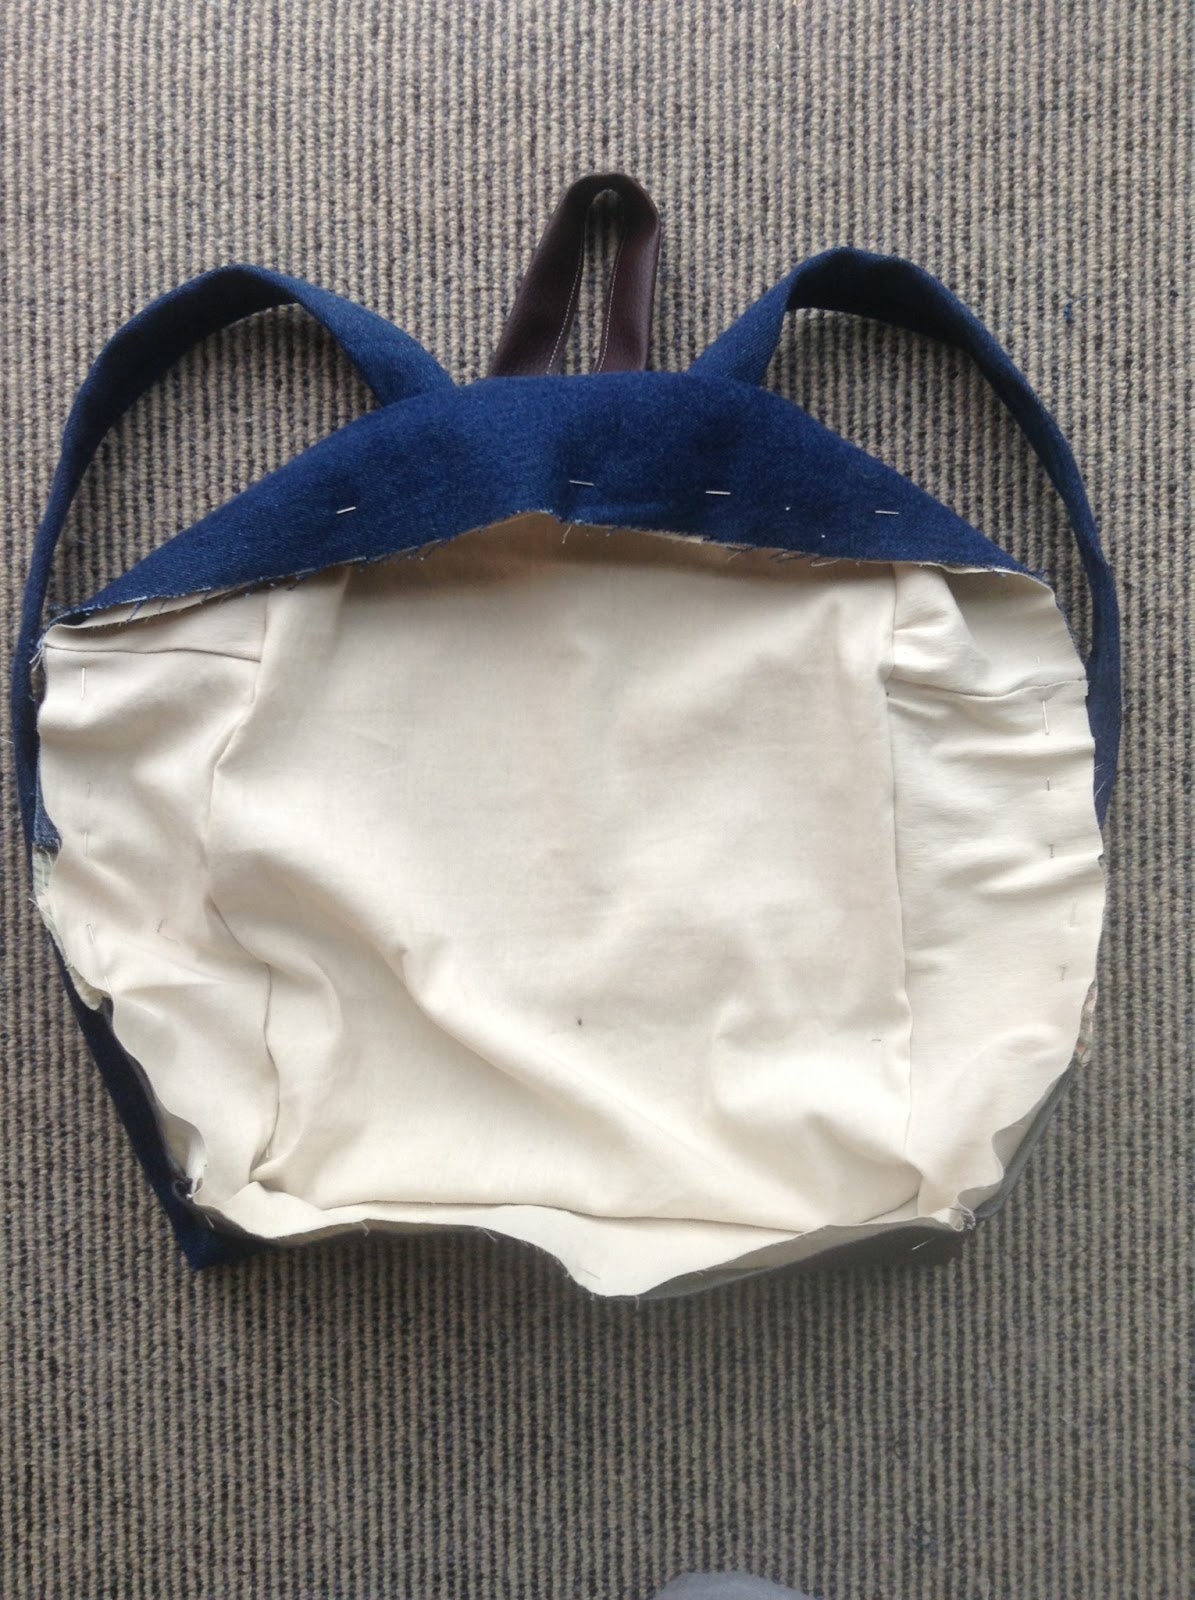
Then attach the lining to the back bag outer
Do this by placing the lining piece you have sewn inside the back outer, wrong sides together
Pin and sew along the entire edge
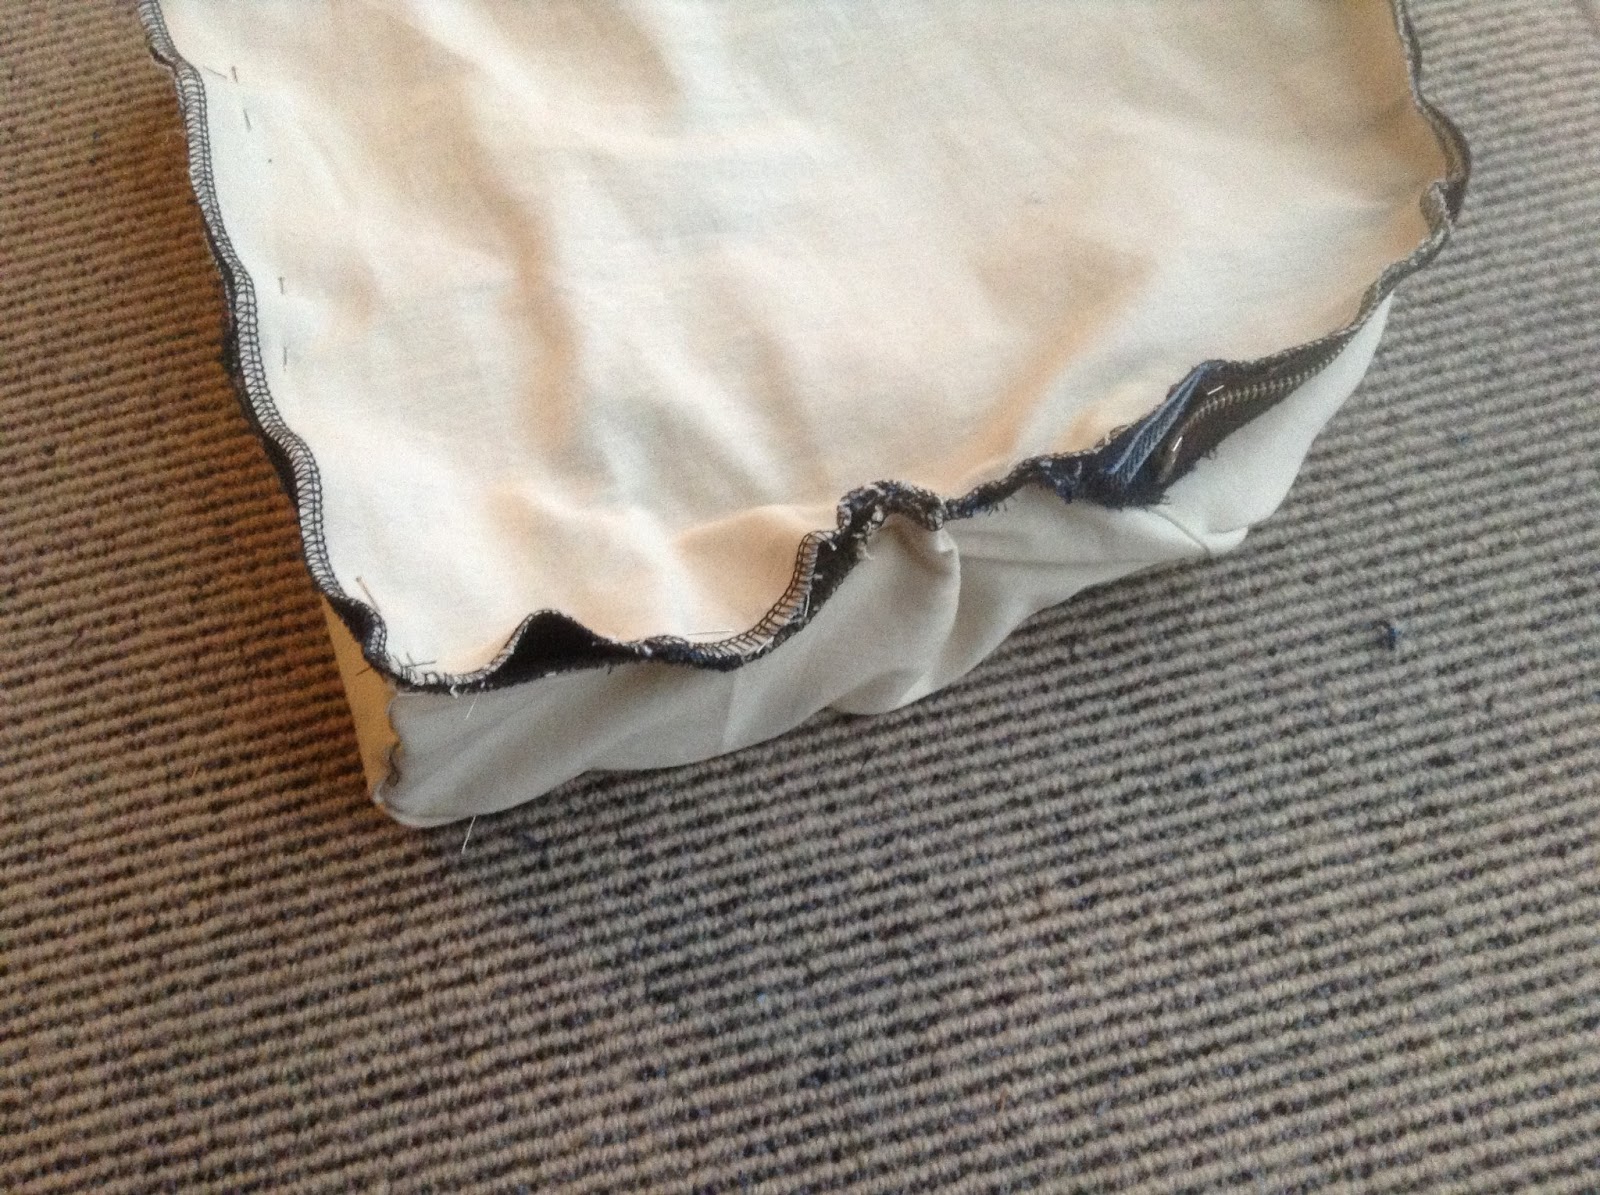
Then place the front lining piece to the front outer piece, wrong sides together and sew around the entire outside

Then cut two rectangles of scrap denim for the ends of the zipper

Fold each rectangle, wrong sides together, and sew one onto each end of the zipper, as shown below

Then pin the zipper to the top of the back bag piece, outer zip facing outer bag

Finally pin the front piece to the back piece and sew around the edge, as shown below

Turn your bag in the right way and you're done!


Backpacks away!

This backpack ROCKS!
ReplyDeleteYou girls are too cool.
-Juanita
I love your backpack! Now I know what to do with my fabric scraps :-) Thank you very much for this idea!
ReplyDeleteThis is awesome! I've been looking for a good backpack diy and yours is the only good one of how to make a real backpack from scratch! Plus it looks super awesome. Keep up the good work!
ReplyDeleteHow cool is this backpack?! This is another Ali creation in my attempts to use up my massive stash of denim pant legs, left over from many, ... 2cutebackpacks.blogspot.com
ReplyDeleteHello I really like your backback, I would like to make one myself. I was wondering if you could tell me how long are your zips?
ReplyDeleteThank you so much for this tutorial, I made this backpack for a friend (with some retro badges and keychains added :)) and she LOVES it! The zippers I used were 8" and 23"
ReplyDeleteThank you for such a well written article. It’s full of insightful information and entertaining descriptions. Your point of view is the best among many.
ReplyDeleteCircle Crossbody Bag
Thanks for the nice blog. It was very useful for me. I'm happy I found this blog. Thank you for sharing with us,I too always learn something new from your post. under armour backpacks
ReplyDeleteAdorei, parabéns.
ReplyDeleteYou seem to be very professional in the way you write.::’~*
ReplyDeleteSindhi News